Being able to use Cisco Cloud Services Router CSR1000v in a stable Hypervisor and Physical machine is a key to the performance and stability of the CSR1000v itself. This time I want to share my latest set-up of the Cisco Cloud Router using VMware ESXi 5.5 as a hypervisor.
VMware ESXi is a free hypervisor, it comes with a free license for 60 days I believe but it doesn’t mean that you can’t use the hypervisor after the free license expires, however there are some limitations after the first 60 days.
If you are not familiar with the Cisco Services Router (CSR1000v), click here for more information.
First logical step would be to get the right image of the Cloud Router, the latest one’s are available at Cisco’s software page. On my set-up I’m using IOS-XE 3.13.0aS or 15.4 known in IOS. Make sure you download the right file with “.ova” extension, because it is easier to deploy later on VMware ESXi.
The CSR1000v is the best solution if you are preparing for the CCIE R&S LAB, since you can run every possible protocol or solution on it, as you know the new CCIE R&S exam is based on virtual devices using IOS-XE images, that’s why the CSR1000v is a perfect match to use for the preparations and labbing.
I’m using vSphere Client to connect to the ESXi Hypervisor from my laptop, click File and Deploy OVF Template as per the picture below. After that choose the source (the .ova IOS file that we downloaded earlier) and click next, you will be asked to confirm the template details (Product, Version, Vendor, Size, Disk, etc), again click next.

Third window will ask you to enter the name of the instance, you can write whatever you want as long as it does not exceed the 80 characters limit.

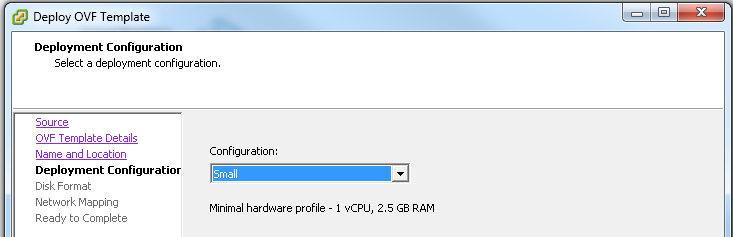
Next window as per picture below is asking for Deployment Configuration, here you have 4 options available, but to make it simple for now let’s choose the Configuration Option “Small”, this will effectively use 1 vCPU and around 2.5 GB of your physical memory.
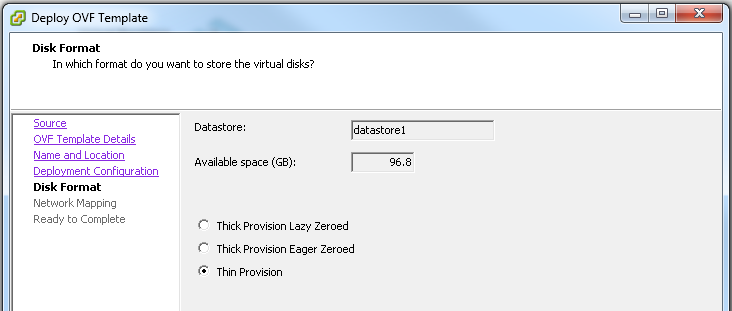
Disk Format is the window that follows as per the picture below, here I selected the “Thin Provision” as an option. This simply means the VM will use the smallest possible Disk Size.
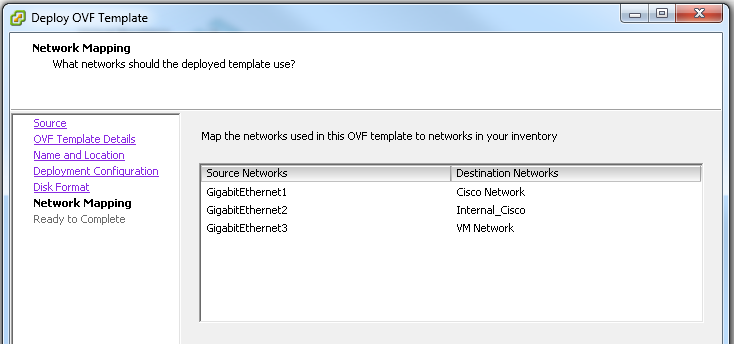
After disk provisioning, next step is showing us the available interfaces (by default CSR1000v uses 3x 1Gig Interfaces), and the mapping to the logical Networks (Virtual Switches inside the Hypervisor). As you can see from the picture below I have already created some virtual switches named “Cisco Network” and “Internal_Cisco”, whereas “VM Network” is the default Switch created by the Hypervisor, the last one is also connected to your physical Network Interface Card.
After the Network mapping configuration, last step is just to confirm all the details, click Finish and your new VM (CSR1000v) will appear on the left of the vSphere Client window as per picture below.

As you can see I’m running more than 10 instances of the CSR1000v via ESXi 5.5 Hypervisor, each using around 2GB of RAM memory, and I’m very happy with the performance of the Virtual machines, eventhough I’m planning to upgrade my Machine from 24 to 32GB of DDR3 RAM memory soon.
Categories: General Networking

Leave a Reply